https://learn.netdata.cloud/docs/installing/one-line-installer-for-all-linux-systems

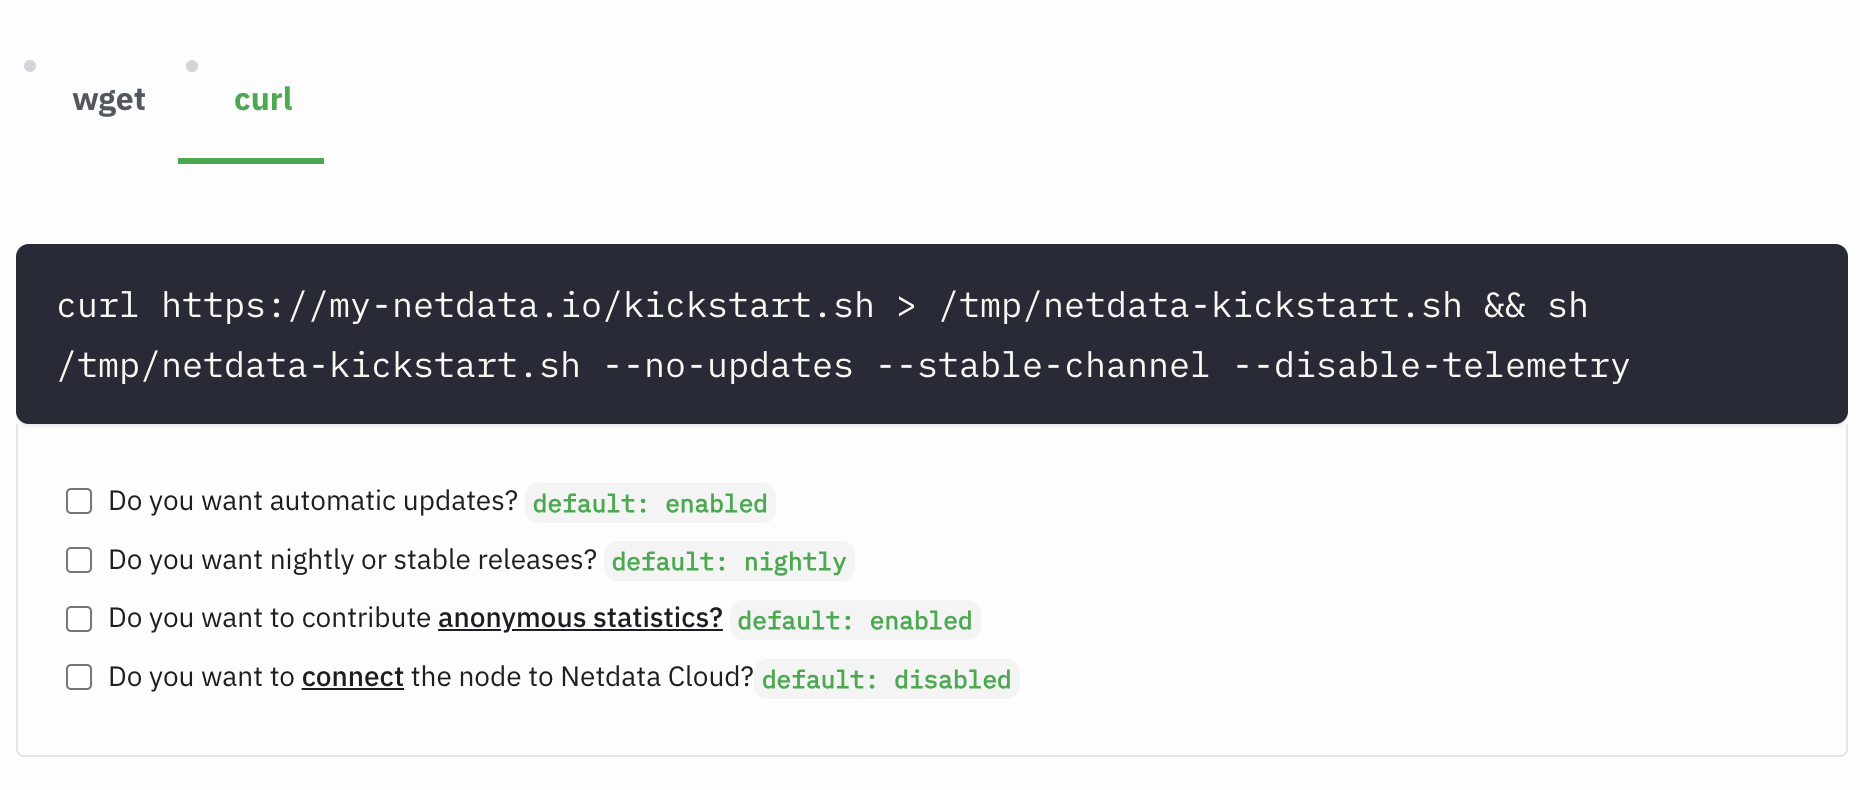
参见图片选择参数,生成安装链接
安装完成之后访问http://127.0.0.1:19999就可以看到了
nginx配置如下
upstream backend {
    # the netdata server,请修改具体端口号
    server 127.0.0.1:19999;
    keepalive 64;
}

server {
    # nginx listens to this
    listen 80;

    # the virtual host name of this,请求改具体域名
    server_name netdata.x.com;

    # 基本身份验证
    auth_basic "Restricted Access";
    auth_basic_user_file /etc/nginx/.htpasswd;

    location / {
        proxy_set_header X-Forwarded-Host $host;
        proxy_set_header X-Forwarded-Server $host;
        proxy_set_header X-Forwarded-For $proxy_add_x_forwarded_for;
        proxy_pass http://backend;
        proxy_http_version 1.1;
        proxy_pass_request_headers on;
        proxy_set_header Connection "keep-alive";
        proxy_store off;
    }
}
设置nginx密码
apt install apache2-utils
#替换your_name
htpasswd -c /etc/nginx/.htpasswd your_name
#加载
nginx -s reload
